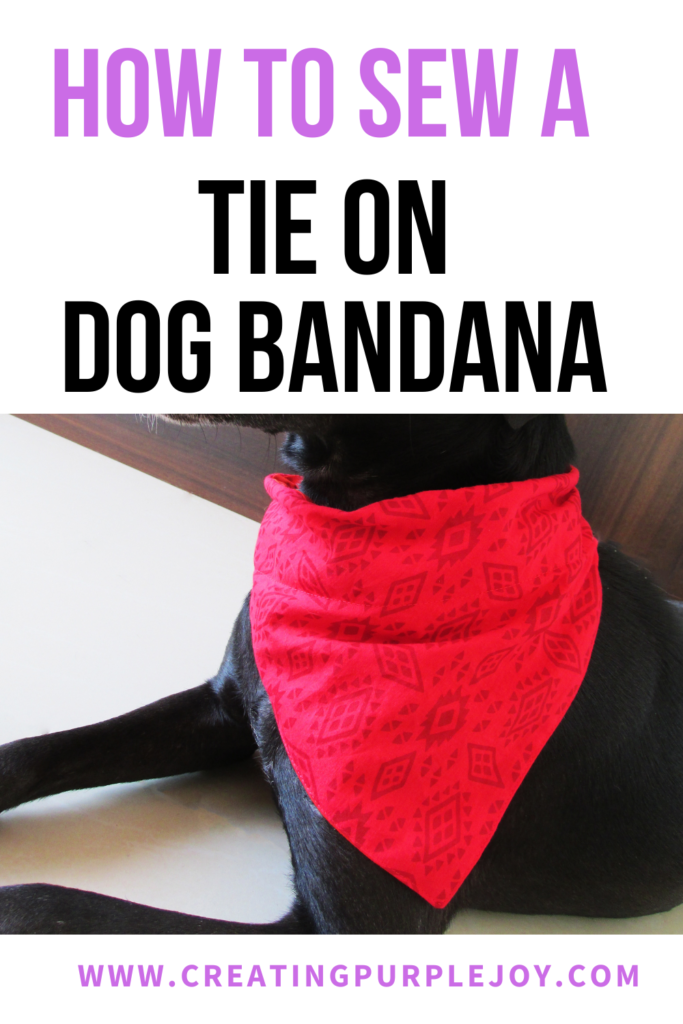
Tie on Dog Bandanas are the traditional bandanas that have been around for forever! Usually, they are a square piece of fabric with serge edges (to prevent fringing) that is folded like a diamond but I create mines differently!

This Tie On Dog Bandana tutorial is super unique because it features fabric and some trim for the tie on pieces! I have been creating my tie on bandanas like this for years because I love that it uses way less fabric (so you can create more bandanas) and you can adjust the trim by using more or less. It’s soo easy to make and beginner friendly! You can easily create one in less than 10 minutes!
To make a tie on Bandana, you will need:
Fabric
Printable Scrunchie Dog Bandana Pattern– you will need just the bandana flag pattern piece
1 inch Trim – I got this from Hobby Lobby in the back with the ribbon!
How to make a Tie on Dog Bandana
You can watch my YouTube Tutorial or Follow along with the directions below!
How to make a Tie on Dog Bandana Picture Tutorial
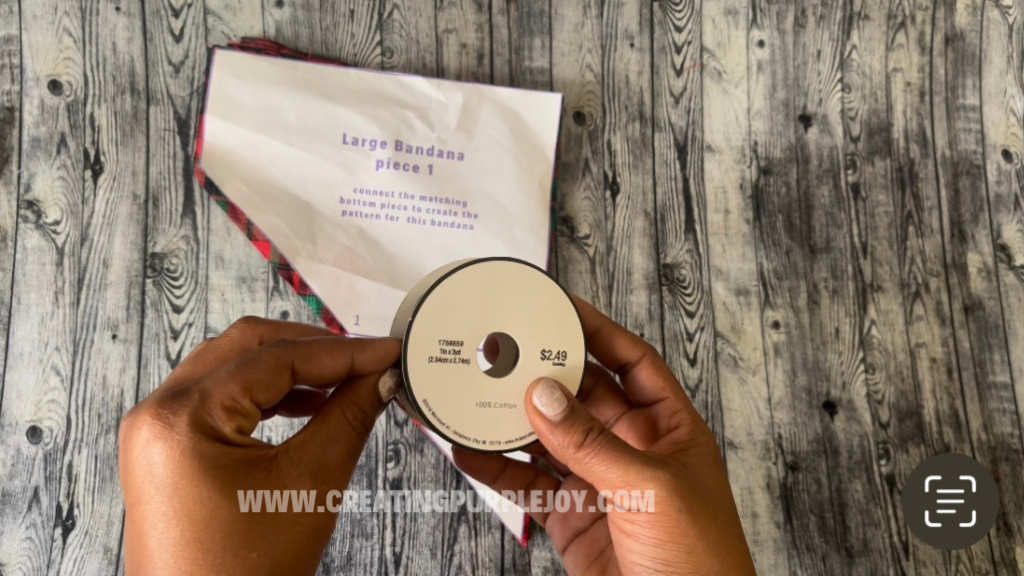
- Select the size that you need for your dog banana from my printable Scrunchie Dog Bandana Pattern. Use your Rotary Cutter and Cutting Mat or Scissors to cut out the bandana flag that you need. Cut your trim! I usually use about 6 inches per piece for my smaller bandanas and 11 inches for my bigger ones!
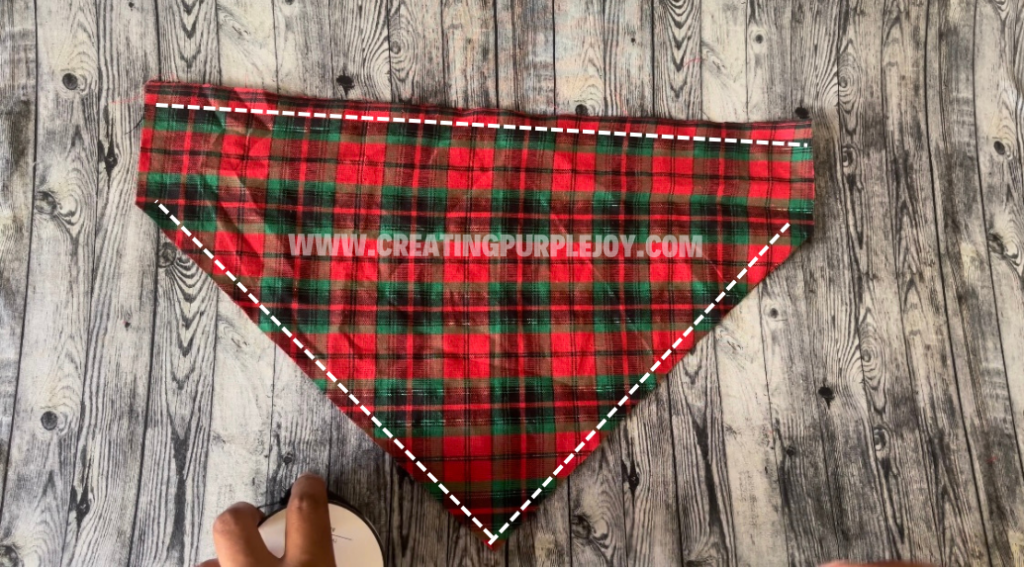
2. Sew along the dotted lines on the wrong side of the bandana. Leave the sides open.
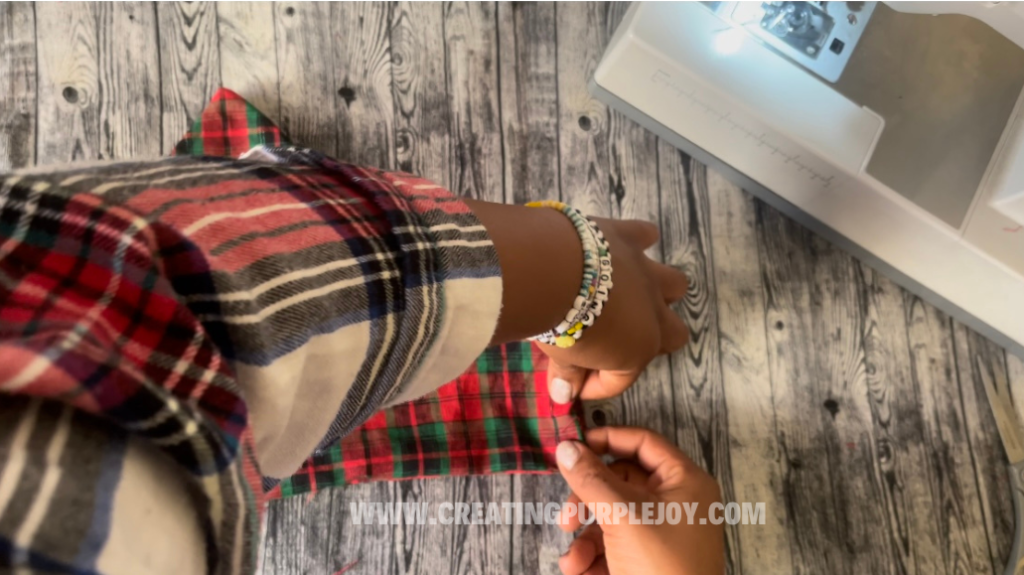
3. Turn the bandana flag right side out and tuck the sides in just a little.

4. Insert the trim and sew it closed along the dotted line. Do it on the other side.
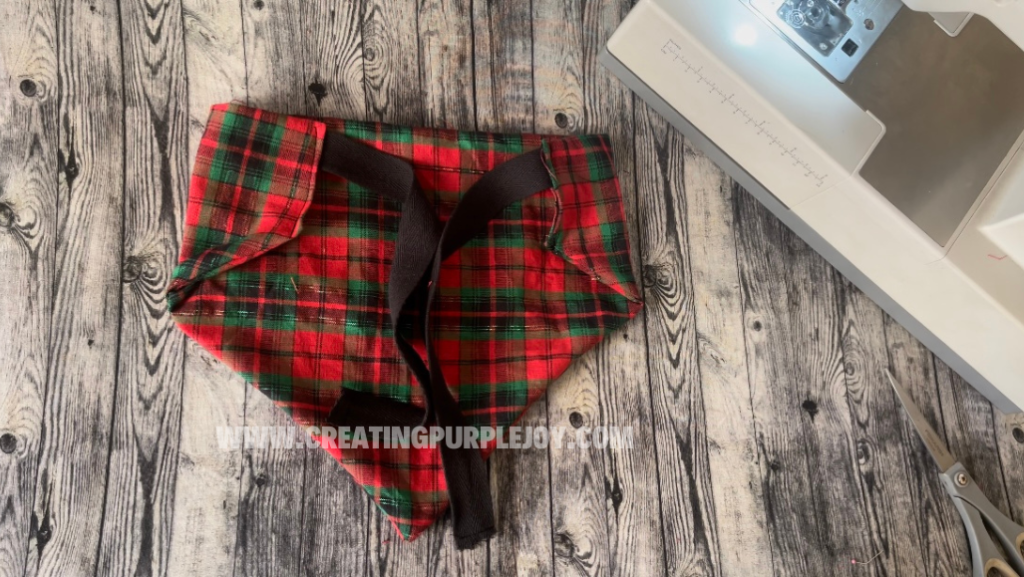
5. And that’s it!
Happy Sewing,
Jackie
