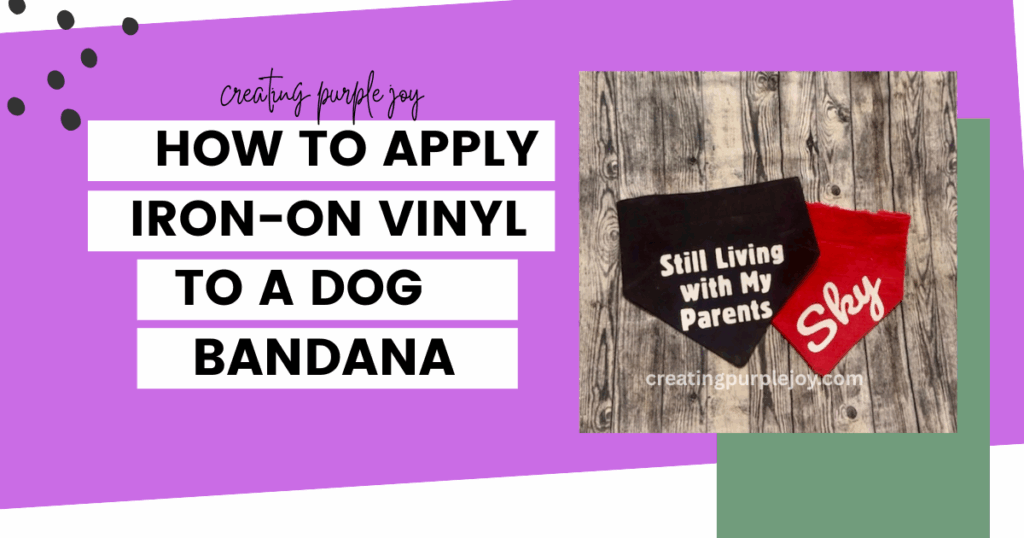
Creating personalized accessories for your furry friend is both fun and rewarding. In this tutorial, I’ll walk you through the process of adding iron-on vinyl to a dog bandana using a Cricut machine. Whether you’re crafting for your own pet or considering a small business venture, this guide is tailored for beginners seeking detailed instructions.
📽️ Watch the Full Tutorial
For a visual guide, watch the complete step-by-step tutorial on YouTube below!
Prefer to read instead? Scroll down for the complete written step-by-step instructions.
🧰 Supplies You’ll Need
- Blank Dog Bandana: Create one using my Scrunchie Dog Bandana pattern or use a store brought one
- Cricut Machine: Explore Air 2, Maker, or Joy.
- Heat Transfer Vinyl (HTV): Also known as iron-on vinyl.
- StandardGrip Cutting Mat: Green mat suitable for most projects.
- Weeding Tool: For removing excess vinyl.
- Heat Press or Iron: For transferring the design.
- Measuring Tape or Ruler: For accurate sizing.
- Cricut Design Space Software or Canva: Available on desktop and mobile.
Disclosure: This post may contain affiliate links. As an Amazon Associate, I earn from qualifying purchases—at no extra cost to you. I only recommend products I personally use and love!
🐶 Step-by-Step Instructions
✅ Step 1: Design Your Custom Phrase in Canva or Cricut Design Space
You have two options for designing your custom phrase or name for the dog bandana:
🔹 Option A: Design in Canva (Great for Beginners)
If you’re more comfortable with Canva or want more font/style flexibility:
- Go to Canva.com and click “Create a design.” Choose “Custom Size” and set it to inches (use something like 6″ x 3″ to start).
- Click “Text” from the left panel, then “Add a heading.” Type your dog’s name or phrase (e.g., “Spoiled Pup”).
- Use Canva’s font options to pick something bold and readable. Avoid cursive or thin fonts for easy cutting.
- Once you’re happy with the design, click “Share” → “Download” and choose SVG (if you have Canva Pro) or PNG for free users. SVG is best for Cricut.
- Your file is now ready to upload to Cricut Design Space (you’ll do that in Step 2).
🔹 Option B: Design Directly in Cricut Design Space
Save the project for later use.
Open Cricut Design Space and select “New Project.”
Click on the “Text” tool in the left menu.
Type your dog’s name or phrase.
Choose a font that’s bold and easy to weed. Resize it to fit your bandana based on measurements you’ll take in Step 3.
Use the “Align” and “Attach” tools to position and group your design as needed.
✅ Step 2: Upload or Finalize Your Design in Cricut Design Space
If you’ve created your design outside of Design Space:
- Click on “Upload” in the left-hand menu.
- Select “Upload Image”, then browse and select your SVG or PNG file.
- Follow the prompts to clean up the image if necessary.
- Once uploaded, insert the image onto your canvas.
- Resize and position the design as needed.
✅ Step 3: Measure Your Bandana
- Lay your bandana flat on a surface.
- Use a measuring tape or ruler to determine the width and height of the area where you want to place the design.
- Note these measurements to ensure your design fits appropriately.
✅ Step 4: Prepare Your Design for Cutting
- In Design Space, click on “Make It”.
- On the “Prepare” screen, ensure your design is mirrored. Toggle the “Mirror” switch to ON. This is crucial for iron-on projects to ensure the design appears correctly when applied.
- Click “Continue”.
✅ Step 5: Set Material and Load the Mat
- Select your material type. For standard HTV, choose “Everyday Iron-On”.
- If using a Cricut Explore Air 2, set the dial to “Iron-On”. For other machines, select the material within Design Space.
- Place your HTV on the StandardGrip mat with the shiny side down.
- Load the mat into your Cricut machine by pressing the flashing arrow button.
✅ Step 6: Cut the Vinyl
- Ensure the fine-point blade is installed in your Cricut machine.
- Press the flashing “C” button to start cutting.
- Once the cut is complete, press the flashing arrow button to unload the mat.
✅ Step 7: Weed the Design
- Carefully peel away the excess vinyl from around your design using the weeding tool.
- Remove any small pieces within letters or intricate parts of the design, leaving only the desired image on the clear carrier sheet.
✅ Step 8: Prepare the Bandana for Application
- Use a lint roller to remove any debris from the bandana.
- Preheat your heat press or iron to the temperature recommended for your specific HTV and fabric type. For Cricut Everyday Iron-On on cotton, set to 305°F (150°C).
- Preheat the area of the bandana where the design will be applied for 5 seconds to remove moisture and wrinkles.
✅ Step 9: Apply the Vinyl to the Bandana
- Position your weeded design onto the bandana, with the shiny carrier sheet facing up.
- Place a Teflon sheet or parchment paper over the design to protect it.
- Apply heat:
- Heat Press: Press with medium pressure for 30 seconds.
- Iron: Use the cotton setting with no steam. Press firmly for 25-30 seconds, moving the iron continuously to cover the entire design.
- Flip the bandana and apply heat to the back side for an additional 15 seconds.
✅ Step 10: Remove the Carrier Sheet
- Allow the design to cool slightly.
- Carefully peel away the clear carrier sheet. If any part of the design lifts, replace the carrier sheet and apply heat for a few more seconds.
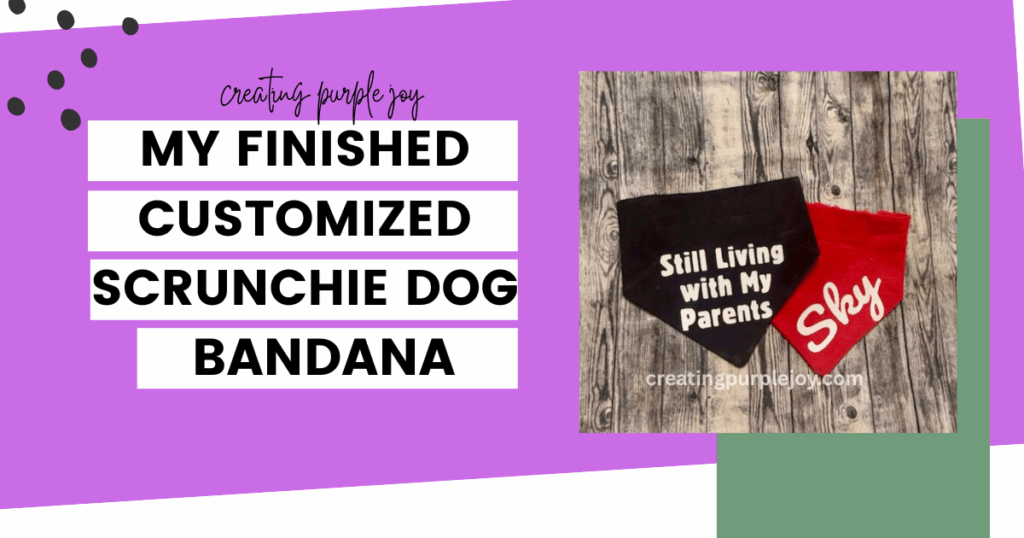
✅ Step 11: You’re Done – Enjoy or Make More!
Congratulations — you’ve just made a custom dog bandana with your Cricut and iron-on vinyl! 🎉 Whether it’s your pup’s new favorite accessory or your first step into selling pet products, you should be proud of your creation.
Now that you know how easy and fun it is, why not make a few more in different colors or designs?
🐶💡 Tip: These make perfect gifts for dog lovers or fun seasonal accessories!
If this tutorial helped you, please share it with a friend who might enjoy crafting for their furry companion too!
🧼 Care Instructions
- Wait 24 hours before washing the bandana.
- Wash inside out with cold water.
- Tumble dry on low heat or hang to dry.
- Do not bleach or dry clean.
🔥 Pro Tips
- Wash your bandana before pressing to reduce shrinking.
- Use a lint roller for a clean pressing surface.
- Test your vinyl settings on scrap fabric if it’s your first time.

Disclosure: This post may contain affiliate links. As an Amazon Associate, I earn from qualifying purchases—at no extra cost to you. I only recommend products I personally use and love!